Kveik and more Kveik

Back in the first week of June we were getting set to have the first of the summer heat stretches. It was looking like 90s for a week. And that means that my garage would then be the perfect place to brew a Kveik yeast beer.
Last summer I did my first Kviek brew in the garage. and it turned out to be great! So I knew I had to make the most of this heat wave.
Thought that maybe a bit maltier beer may show off the Kviek a bit better, so we went with a Vienna Lager type recipe.

  • 5lbs DArk munich
  • 4 lbs 2row
  • 1 oz saaz at 60
  • 1/2 oz saas at 15
  • 1/2 oz saaz at flame out.
  • Voss Kviek — mashed the grains at 152

So the Kviek kveiked great. and as last time with it, there is about double the yeast sludge as regular yeasts. So I wanted to save some. And I remember reading some where that the old Norwegians would dry the yeast on wood planks to repitch later….

I didnt have any planks ready to go when I thought of this, so I went out and clipped off a cedar branch.
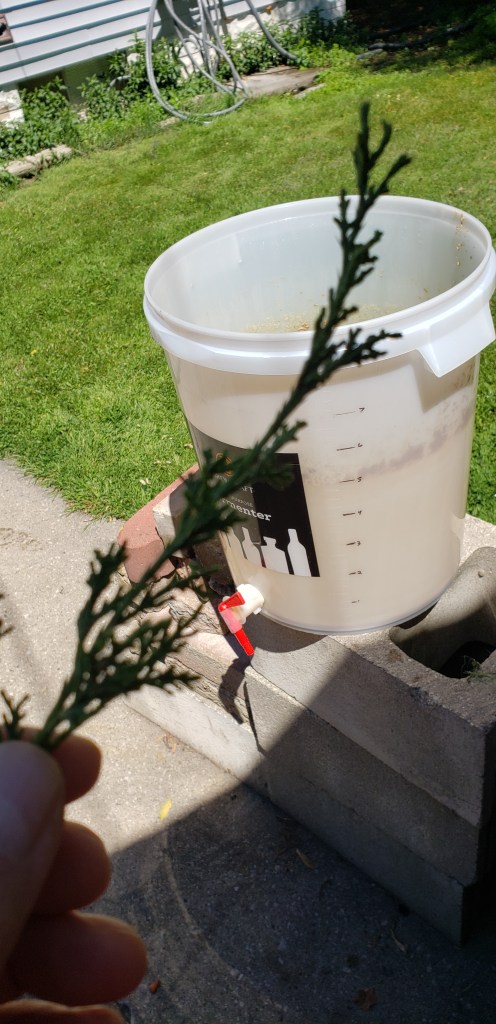
slopped it in the sludge

and let it dry in my hot garage.

For over a month of 100+ degrees of heat.

Then just dropped it into the next batch.
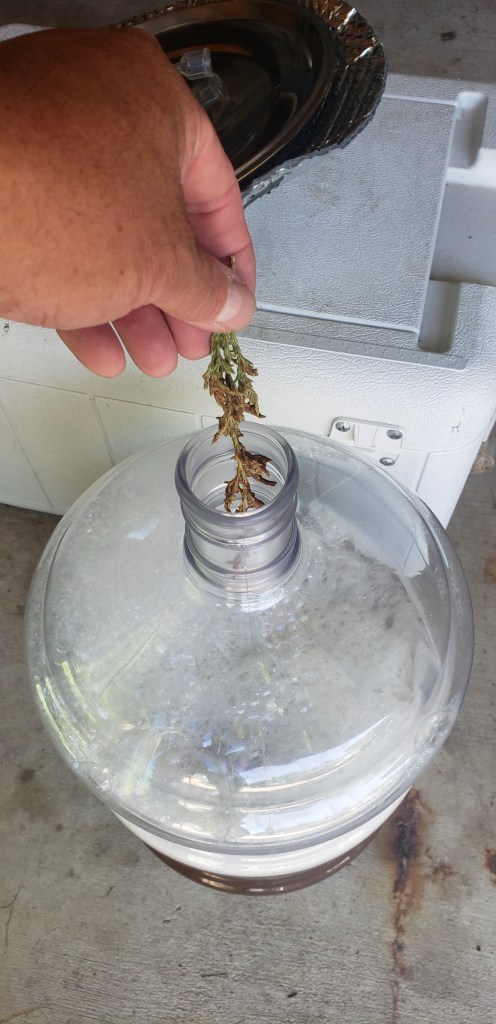
20200703_125929.jpg

It did have a day lag, but there was activity around the branch. Kinda like an alka seltzer tab. I think it was the yeast rehydrating and starting to work, because less than 5 hours after I looked at it, it was in FULL ON ferment. at 90 degrees.

The original batch with a full pack of yeast took almost 4 days to complete, and a week to clear (as much as Kveik clears anyway). This batch with just that sticks worth was pitched, fermented full and cleared in only 3 days and we were kegged and drinking it in 7 days from pitch. But I guess this yeast does work better when under pitched.

After tasting it now for a few weeks, I really have to say that the second stick pitched beer is cleaner and less yeasty tasting.

Now since I have done this, I see there are all a bunch of articles on drying an freezing this yeast, so it was a good idea after all.

I think after now doing 3 batches with Kveik, that I am ready to start incorporating it into more of the summer beers. There are more strains coming out,, so will b trying those too,, as long as the garage stays hot.

Its getting to be that time..

Time to get the “other” fermenters going. So will do a batch of Kimchi,, just to brush up on things.

You dont really need much for kimchi. A sharp knife, a few big bowls and some jars. Dont really need a fermenter for this.

For ingredients I use:

Nappa cabbage
Nappa Cabbage
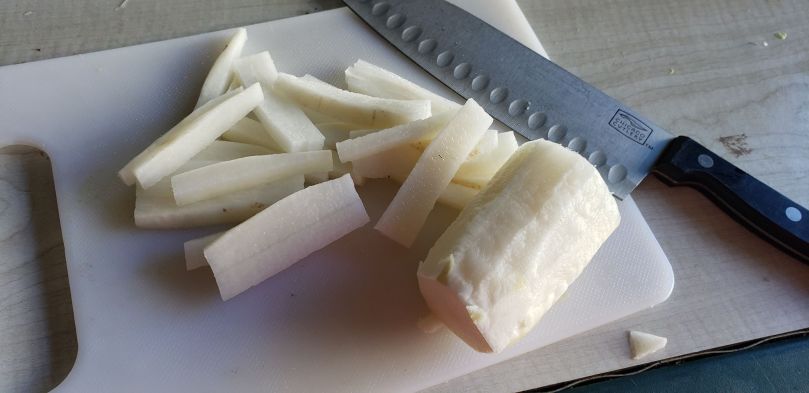
Diakon Radish

Green onions

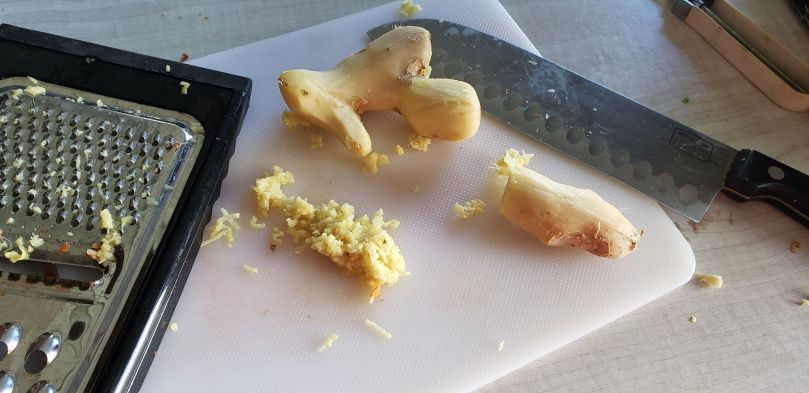
ginger
ginger
canning salt
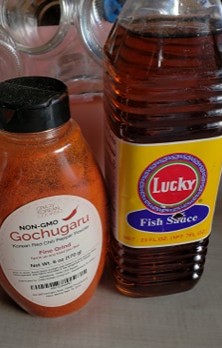
gochugaru pepper and fish sauce
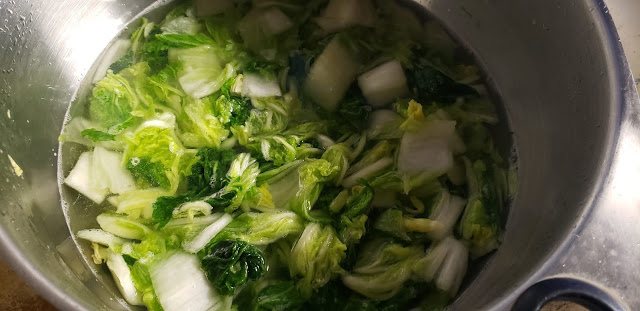
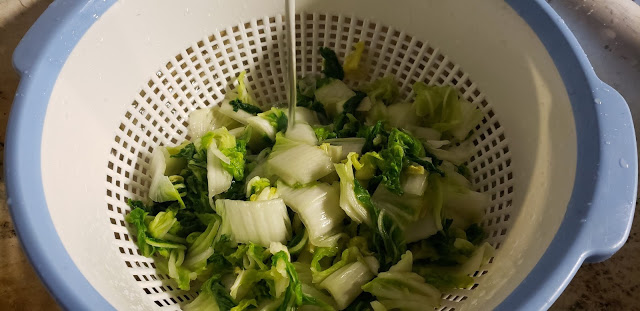
cut up the cabbage in big hunks,, inch size maybe.. throw some salt on it.. like lots,, 1/4 to 1/2 cup. Mix it up, scrunch it up with your hands and just let it sit and wilt or drain for an hour. (dont worry about all the salt,, you’ll see why later… so use alot) it will start pulling juice out of the cabbage.
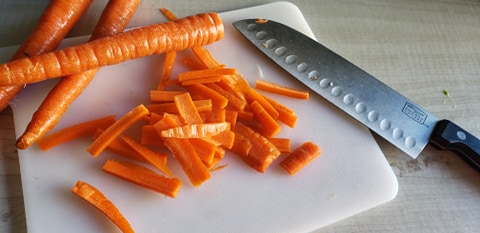
cut up the carrorts, diakon onions or what ever else you throw in, into matchsticks or how ever you want,, just make them small
After an hour drain and rinse the cabbage. There will still be enough salt to do its job
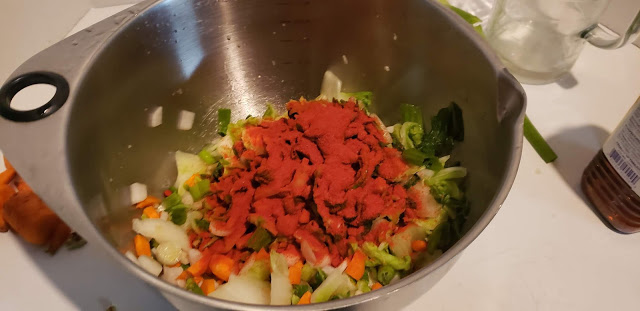
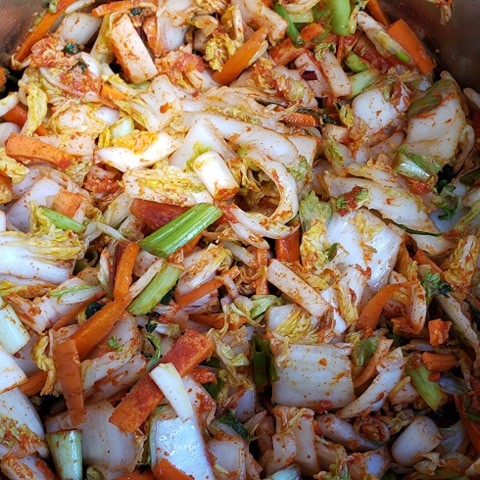
I use 2-3 TBS fish oil and 1/8 cup of the pepper per head of cabbage but up to you. Mix all up good!

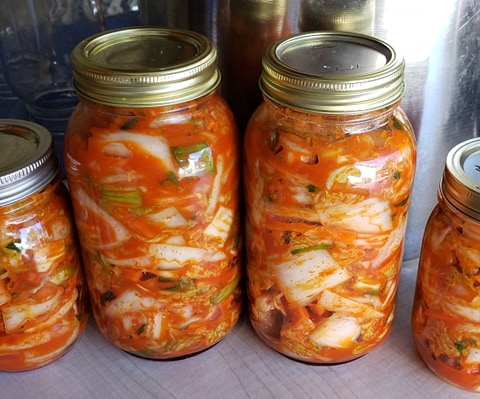
Pack into jars with a bit of head space.

Important!! if you use jars like this instead of a fermenter.. leave the lids loose so it can gas off. and maybe keep on a plate or bucket. When it starts fermenting it may bubble out the top if you didnt leave enough space..

But,, after 4 days its ready! A week is better, 2 better yet! You might see bubbling up the sides or even taste fizzy… its supposed to be like that,, well good stuff is any way.

Put them in the fridge to slow down the fermenting. Yea,, just slow down,, it will keep going and getting better.

Oh this batch used 2 cabbages, 1 large diakon 5 carrots about 3 inches ginger 2 pack green onions, 1/2 cup of the Korean Chile powder and about 10 shakes of fish sauce.. and takes about an hour, waay less if you pre cut the carrots and radishes.

Stay tuned.

A Quick Ferment Guide

Have had several people now asking how to get started in fermenting all of the beans and pickles or all the veggies you can find this time of year.

Its just too easy not to do it. You basically need two things. 

JARS–Get a couple quart mason jars with rings and lids. (Pints are just a bit small, save the bigger half gallons for later) Even the bigger pickle jars will work.
SALT–Kosher or pickling salt. None of the iodized stuff. (Mortons Canning and Pickling Salt)
WATER–Tap water is fine but try to use non-chlorinated.
Thats it!
———————————————–

What we are trying to do is simple. Cover the veggies with a salt water solution to stave off any weird yeasts or bacteria long enough for the GOOD bacteria..Lactobacillus, to take over and start fermenting.

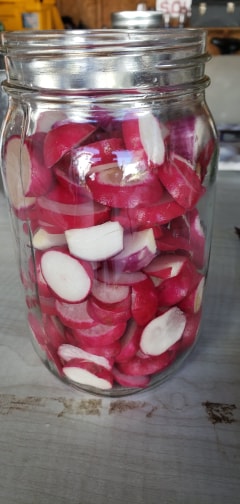
The easiest way to get started is to grab a bag of green beans, carrots, peppers, cukes or like for this.. Radishes
Slice or chop your veggies into smaller pieces 
Pack them fairly tight and up to the neck of jar.
If you have spices, add them now.
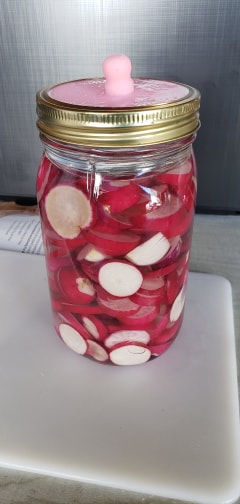
pour in your brine (will show this below) and fill the jars up over the veggies but leaving a bit of space from the top.

Put your lid on but not so tight,, if you have airlocks (Also see below) then use those now.

Set in a warm place. A week is good, 2 weeks might be better. (If you do not have airlocks, crack open the lids every other day to let the pressure off.)
Thats it!
Eat. and just store the rest in the jar in the fridge.


Now,, what exactly is this Brine? 
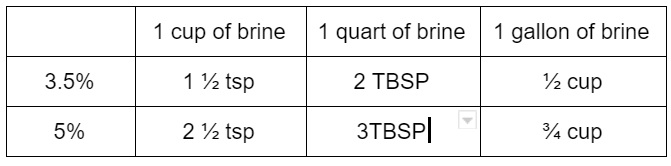
Just the salt water solution you pour over the veggies. What we are looking for is somewhere between a 3% and 5% salt solution. (3.5% is my usual because of the easy measures)
Sounds technical, but nope. Use the chart below to figure how much salt for the amount of brine your making. Just stir it up and its done.

 Tips:
Try to pack tight enough that the food stays under the brine level. 

Some white film may form on top… DON’T WORRY,, that’s just the natural yeasts from the veggies. If you do get some, just spoon it off the top and add more brine if you need to.

Experiment with more/less spices or veggie mixes.. Share with friends 


Some helpful things to use.
Airlocks
You can buy lids with a hole for a brewing airlock,, or the new silicon lids. These are great because you don’t need to burp jars.
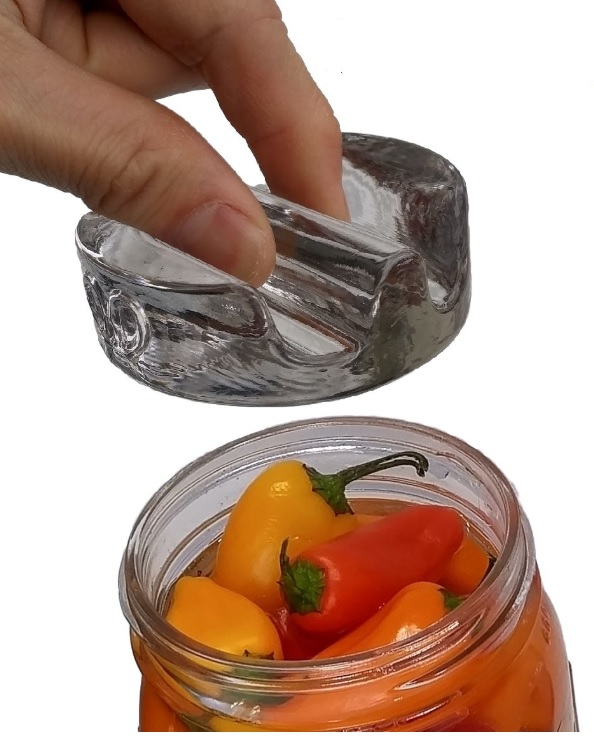
Jar weights
Just a round piece of glass or stone that fit inside the jars to keep the food under the liquid. Mostly for wide mouth jars.
————————————————
You can get more technical and involved, but using this quick guide will get you started so you can ferment any veggie out there. 


(kraut is slightly different, but same idea. I will make a quick guide for that later)